Retromotorman
(Just another wreck in the car park of life!)
Cabin refurbishment
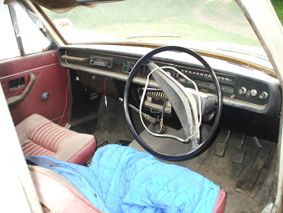
The cabin on the Volv is nice and roomy, which is a good job looking at my portly self, and also like me thing are relatively simple too!
I started by removing the interior and cleaning things up a bit, the int is quite clean really and the headlining is near mint which is good as I wanted this to stay put.
Ok, after the welding was done (see bodywork section) I cleaned all up and painted the cabin just to get at the places that may have restricted access later in the build. The first job was to see if I could get the electric power steering to fit as the steering on this old girl left allot to be desired being a steering box, it was designed for a Mk2 Escort but it was cheap so thought I would give it a go. The great thing about this system is that you can use it and not have to get involved in redesigning the front end, which I have seen done and is allot of very hard work with varied success. The unit bolts up the original column mount and uses a JU shaft to the box input shaft, see right hand pic, there is an ECU, you can just see in the centre pic, bolted to the bulkhead, and that's about it. I fired the unit up and it worked!! The feedback is adjusted by a variable switch at the top of RH pic, you like my new steering wheel in LH pic, very cheap off Ebay, where ells?

Once the wheel was on I could get an idea of were the seats and hydraulic hand brake wanted to be, the seats will fit to two brackets at the front shown in the RH pic and a seat rail at the rear, see centre pic below. I made the h/handbrake from an old Capri unit, stripped it down and then reversed it to stand up straight, made a bracket and fitted a landrover master cylinder, good eh?
I really wanted to get the rear firewall in, for motivation than anything ells, projects can easily become bogged down when nothing much seems to be happening. The thing is that to fulfil one's ambition to accomplish one thing you end up with a snowball effect were other things need to be done first. I had the idea to rout the power and fuel up through the chassis as the heater ducting had been done. In the two outer pic's this can be seen, however it was allot tideyer than this, sealed and grommeted. Then I had a brain wave, if things weren't complicated enough! Yes, I have now decided on a roll cage, well decided to make one actually as getting one for the car in near impossible, I do like a challenge! Anyway, as you can see in the centre pic, the firewall is in, pretty aint it, My son takes credit for getting the ally as his mate wanted him to help move house and my son obliged, then when the lad showed him all these ally cut offs and said he was going to take them to the scrap, my son, generously gave him a tenner for them and there is enough to firewall at least ten cars!
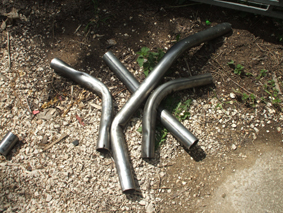
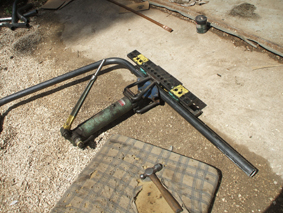
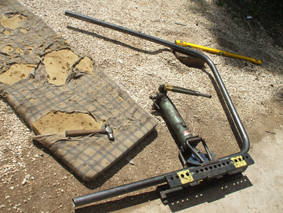
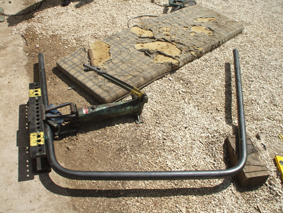
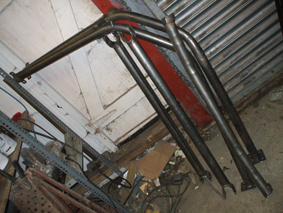
And here it is, the roll cage! Below left is the first tube which has a 2mm wall and centre my attempts at bending it! Right and below are of my attempts at bending the 3mm, success at last!
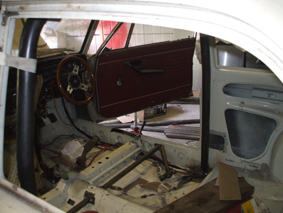
Now here is the first fitting of the main hoop in the car, not bad for a first attempt, boy was I shaking when I put the bend in that, steel is not cheap and as I am a Yorkshirman I don't like waste. Bottom right is a pic of the rest of the cage, it's been removed ready for inal welding and paint, then a refit and the cabbin is nearly there!
car projects....wanted....unwanted..... Diary
.JPG)
.JPG)


