Retromotorman
(Just another wreck in the car park of life!)
Body work
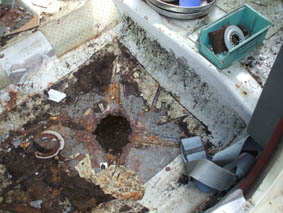
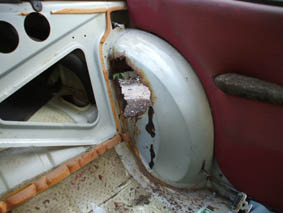
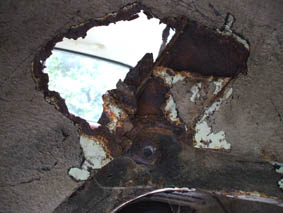
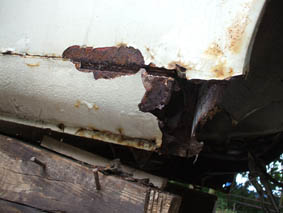
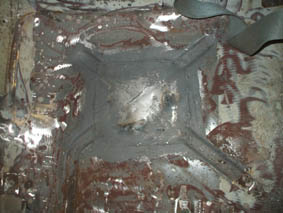
As you can see the tin worm has been busy, but only at the rear of the car for some reason. Both rear inner arches were hold and the floors where the rubber bung had been placed. The boot too was hold in the wheel wells and looked like it had been repaired before. Both wheel arches have been replaced, in fact the car had had some restoration earlier in it's life, not that this was going to help me allot. The one saving grace of the Volvo is that no matter how corroded the plate or bolt it always unscrewed and in most casses was clear of rot on the inside, such as the chassis bolts. I know, going by my Capri that this is very helpful, as the bolts in that chassis were well corroded. The only axle fixing point that was a little weak was the panhard tower mount (pic above left) but the bolts true to form even came out of this too with ease. Now as I mentioned before I am a Yorkshire man through and through, so when the spector of the ghost of finance past reared it's ugly head I was prepared! Panels for this car, when you can get them, are again expensive, but tin I can get relatively scroungable. All the repair panels I have made myself and welded in place, if you can call it welding!.
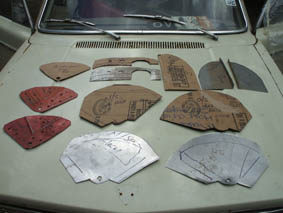
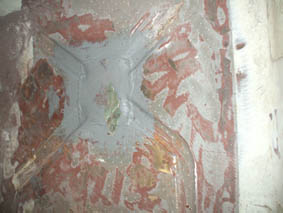
Above to the left you can see the panels and their templates that were made to sort out the problems pictured top and right. Both inner and outer panels were made, plus some strengthening plates shown in red in left hand pic.
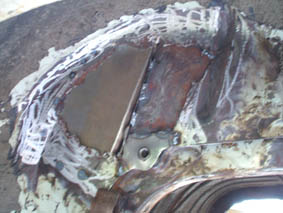
As you can see the internal plate shown in the centre was stitched in to place, on the external face, shown left you can see the plate. The plate was welded both sides before the external plate was fitted to give strength. The right hand pic shows the outer plate stitched on. I used some washers and a bolt to mimic the shock width, you can see that the outer plate has been marked so some spot welds can be used to stitch both plates, inner and outer together.
Top left is a pic of the outer plate stitched, centre shows the strengthening plate, which was made out of an old ride-on mower bonnet if I remember rightly, stitched in. And right, the finished article, as they say! I made cardboard templates before cutting the metal as I am crap at measuring and I hate waste, and have lot's of cardboard, end of.
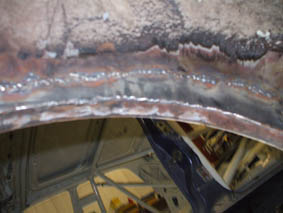
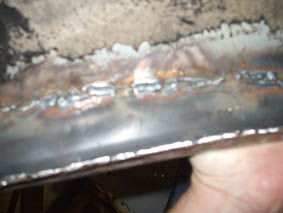
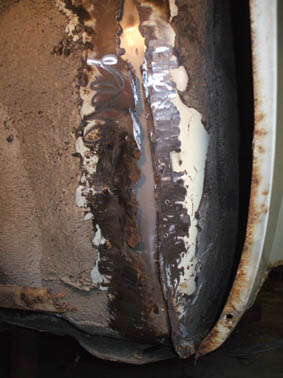
As you can see the sill and arch were not good, and to make matters worse some bright light had fitted new outer arches and filled what was left of the inner arch, why do people do that? If they had done the job right I would not be buggering about like this! Anyway, I made another plate and used my top quality spot welder, only £29 off Ebay, were ells, and what a tidy job it made! I will not bore the hell out of you by showing the drivers side arch as this side was most definitely the worst, from here we will go inside to weld up the floor drain holes I think.
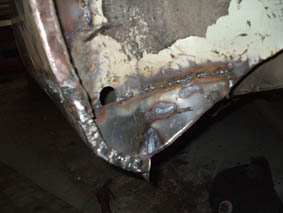
Here you can see the inner arch, well that is what it is supposed to be! I bought some outer arches and trimmed them to fit on the inside, it's amazing how this has stiffened this area up, as opposed to filler! Was going to fit some old Capri arches but found these volvo patterns, unusually cheap!
Upper left you can see the inner arch that has been welded in, no filler there! Centrex, is the axle located and left the repair which has been seam sealed and primed.
Moving forward with the mig, and those bloody holes are going to have to be done! Just so sick of seeing them!
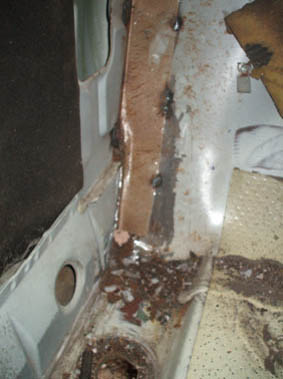
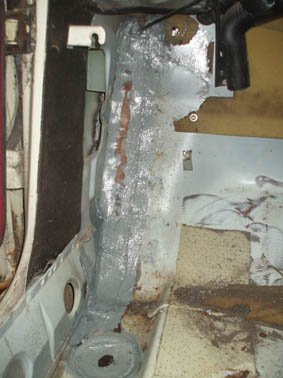
Disaster, more rot lurking in the foot well and rising up the seem to the bulkhead, not going to get the mig stored yet!
Above left, the top of the wheel arch to bulk head seem, first plate tacked in and centre the bottom end cleaned and waiting for repair and left a view of the inside and the plate just tacked in to place.
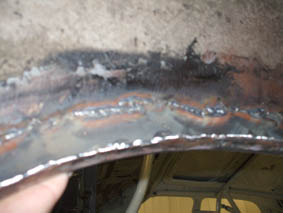
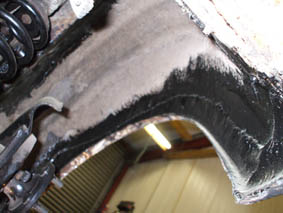
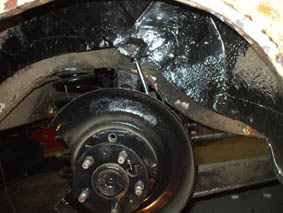
Below the finished job, left and centre you can see the plates welded in solid and seem sealed, right underseal applied to the outer side. Best have a good look at the drivers side me thinks?
.JPG)
Guess what, I am beginning to think I am going to wear my welder out! If when the other side is done and I find anymore rot I will use wood an stickerflex!
Ok, that's it, all solid and seem/under sealed!!! Below shows the interior painted and ready for the firewall and..... cage may be?
car projects.....wanted....unwanted..... Diary....parts







.JPG)
.JPG)
.JPG)
.JPG)
.JPG)
.JPG)
.JPG)